Congratulations and Thank You for your purchase of this
Toad Ranch Cages Signature Stand!
If assembled correctly and cared for this reptile enclosure stand will last forever! (Well not forever, nothing lasts forever, but a really really super long time.)
LK Stand-
Tools needed:
- Phillips screwdriver (wrist powered or battery powered- be careful not to overtighten screws!!!- set drill clutch at 2-3)
- Instructions
- An extra pair of hands is always helpful but not required
Supplies:
- Coarse thread 1-1/4” #6 screws
- Black PVC FastCap screw covers
- (6) PVC panels (Top, Back, Right, Left, Front Support, and Rear Support)
- Toad Ranch Signature Frame in your favorite color
- (2) Stacking Dowels
Notes: All body panels will be marked on the INSIDE surface as to where they go and will have an arrow that should be installed to point toward the FRONT of the stand with the exception of the back-panel arrow which should point up. “Right” and “Left” will be as you look at the cage with it facing you.
On the Top Panel you will notice there are two different sized holes on the front edge. The larger diameter holes (without the countersink) are for the stacking dowels.
Steps
- Locate PVC body panel labeled “Top” and panel labeled “Right”. With arrows pointing the same direction insert screws through the “Top” panel into the “Right” panel making sure the holes align.
- Take the “Back” panel, arrow pointing toward the “Top” panel, and insert screws through the already assembled “Top” and “Right” panels into the “Back” panel again making sure the holes line up.
- Locate the “Left” panel and install in the same manner making sure all arrows are pointing to the front of the stand and screw holes align.
- There should be two panels left labeled “Front Support” and “Rear Support” simply slide the Rear Support into the slots nearest the back panel with the label to the front and the arrow pointing to the top panel. Make sure when installing the screws that the supports are fully seated in the slots. Repeat this process with the front support.
- This is the step you’ve been waiting for! Grab that beautiful Toad Ranch Signature frame and, with the stand on its back, seat frame into the stand body (there is no bottom panel so there will only be 3 sides surrounding the front frame).
- Install screws into the frame
- Now would be a good time to place the Black PVC FastCaps over the screws. We provide FastCaps for the sides and top only. We recommend if you are stacking, not to place them on the top of the enclosure you will be stacking on top of.
- When you are stacking your enclosures simply insert the dowels into the holes on the top front edge of the stand/lower enclosure and seat the upper enclosure onto them!
EC Stand-
If assembled correctly and cared for this stand will last forever! (Well not forever, nothing lasts forever, but a really really super long time.)
Tools needed:
- Phillips screwdriver (wrist powered or battery powered- be careful not to overtighten screws!!!- set drill clutch at 2-3)
- Instructions
- An extra pair of hands is always helpful.
Supplies:
- Coarse thread 1-1/4” #6 screws
- Black PVC FastCap screw covers
- PVC body panels
- Toad Ranch Signature Frame in your favorite color
- 2 Stainless Stacking Dowels
Notes: All body panels will be marked on the INSIDE stand surface as to where they go and will have an arrow that should be installed to point toward the FRONT of the cage with the exception of the back-panel arrow which should point up. “Right” and “Left” will be as you look at the cage with it facing you.
* On the Top and Bottom Panels, you will notice there are two different sized holes on the front edge. The larger diameter holes (without the countersink) are for the stacking dowels- Do not install screws in these.
Steps
- Locate PVC body panel labeled “Bottom” and panel labeled “Right”. With arrows pointing the same direction insert screws through the bottom panel into the side panel making sure the holes align.
- Take the “Back” panel, arrow facing up, and insert screws through the already assembled “Bottom” and “Right” panels into the “Back” panel again making sure the holes line up.
- Locate the “Left” panel and install in the same manner making sure all arrows are pointing to the front of the stand and screw holes align.
- The remaining panel should be labeled “Top”
- Install “Top” with label IN and arrow pointing toward front. Secure with screws through “Top” panel into assembled body.
- If your EC Stand has a center divider (5’+ Stands) locate it and slide it into the tracks in the center of the stand (do not screw this in yet).
- At this point slide the shelf (shelves) into place (you must do this before installing the frame).
- This is the step you’ve been waiting for! Grab that beautiful Toad Ranch Signature Frame and, with the stand on its back, seat frame with the shelf rabbets up into the stand body (this might be a tight fit, appropriate body screws may be loosened if necessary.)
- Before securing the frame make sure the shelf (shelves) are seated onto the frame and shelf slots.
- Secure frame to the body with screws all the way around it.
- Install screws into the center divider on top and bottom and the sides of the shelf (shelves) while the stand is on its back.
- Set the stand upright and install screws through the back panel into the center divider and shelf.
- Secure shelf (shelves) to the front frame with screws.
- Now would be a good time to place the Black PVC FastCaps over the screws. We provide FastCaps for the sides and top only. We recommend if you are stacking, not to place them on the top of the enclosure you will be stacking on top of.
- When stacking your enclosures simply insert the dowels into the holes on the top front edge of the lower enclosure/stand and seat the upper enclosure onto them!
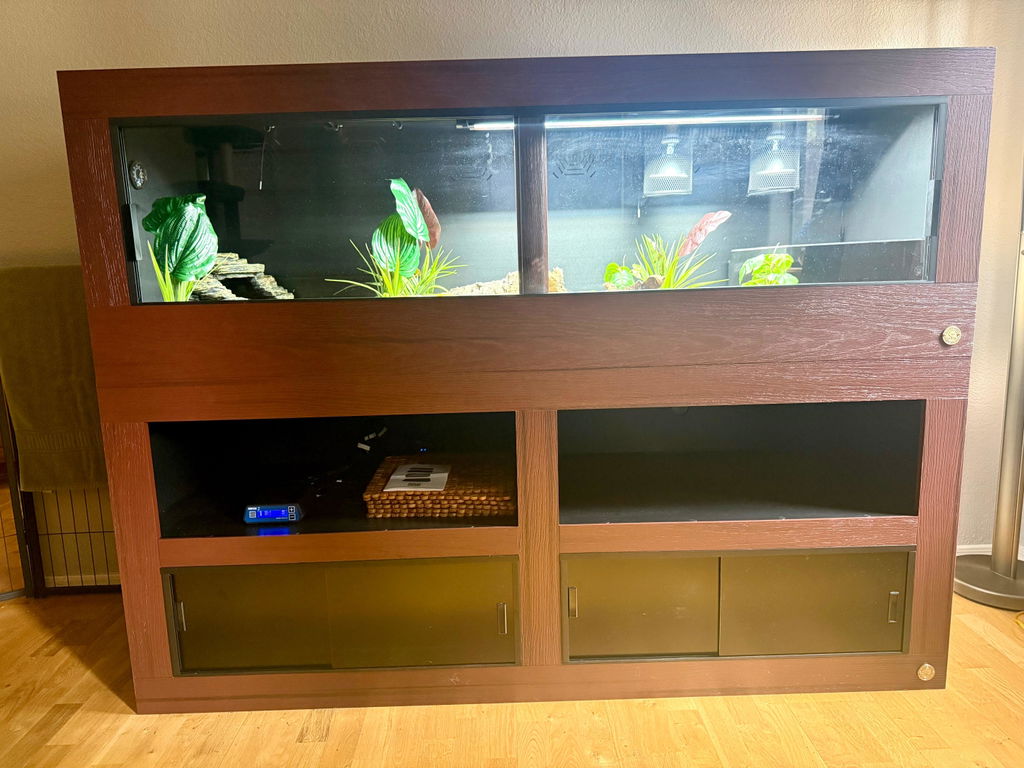
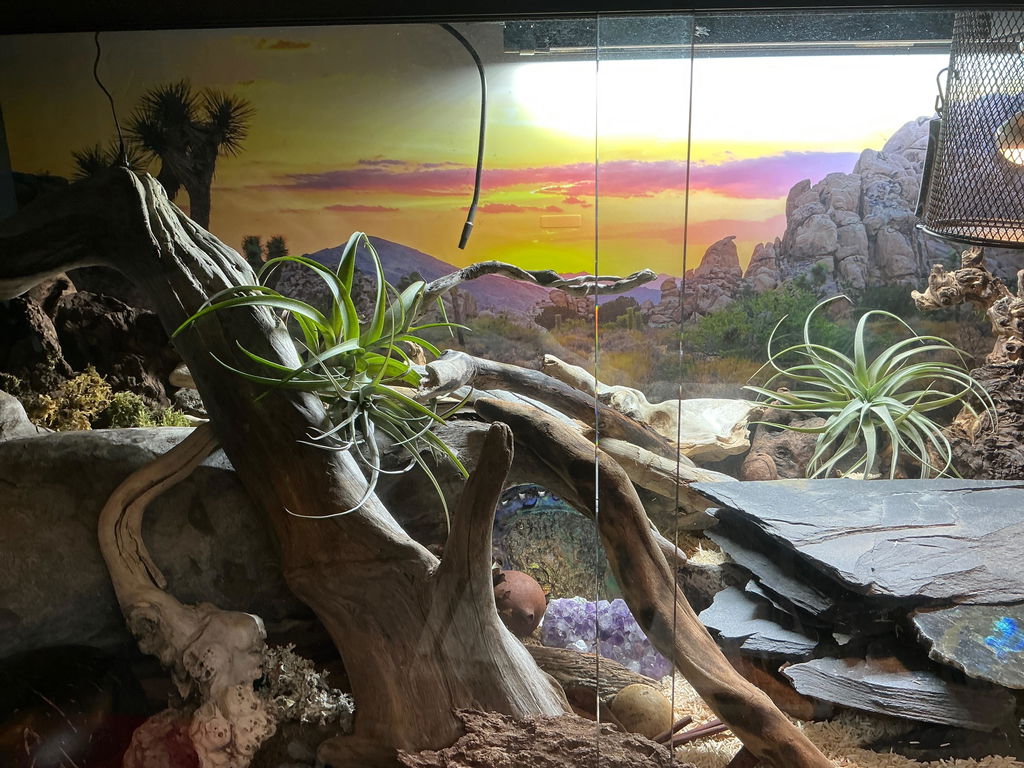
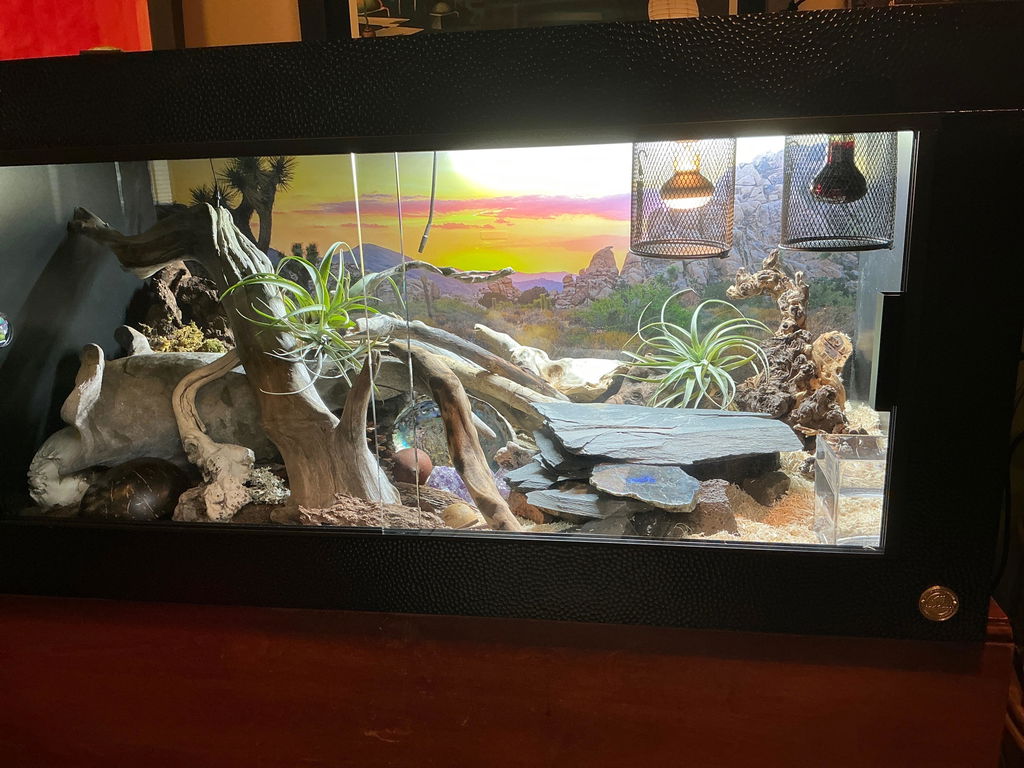
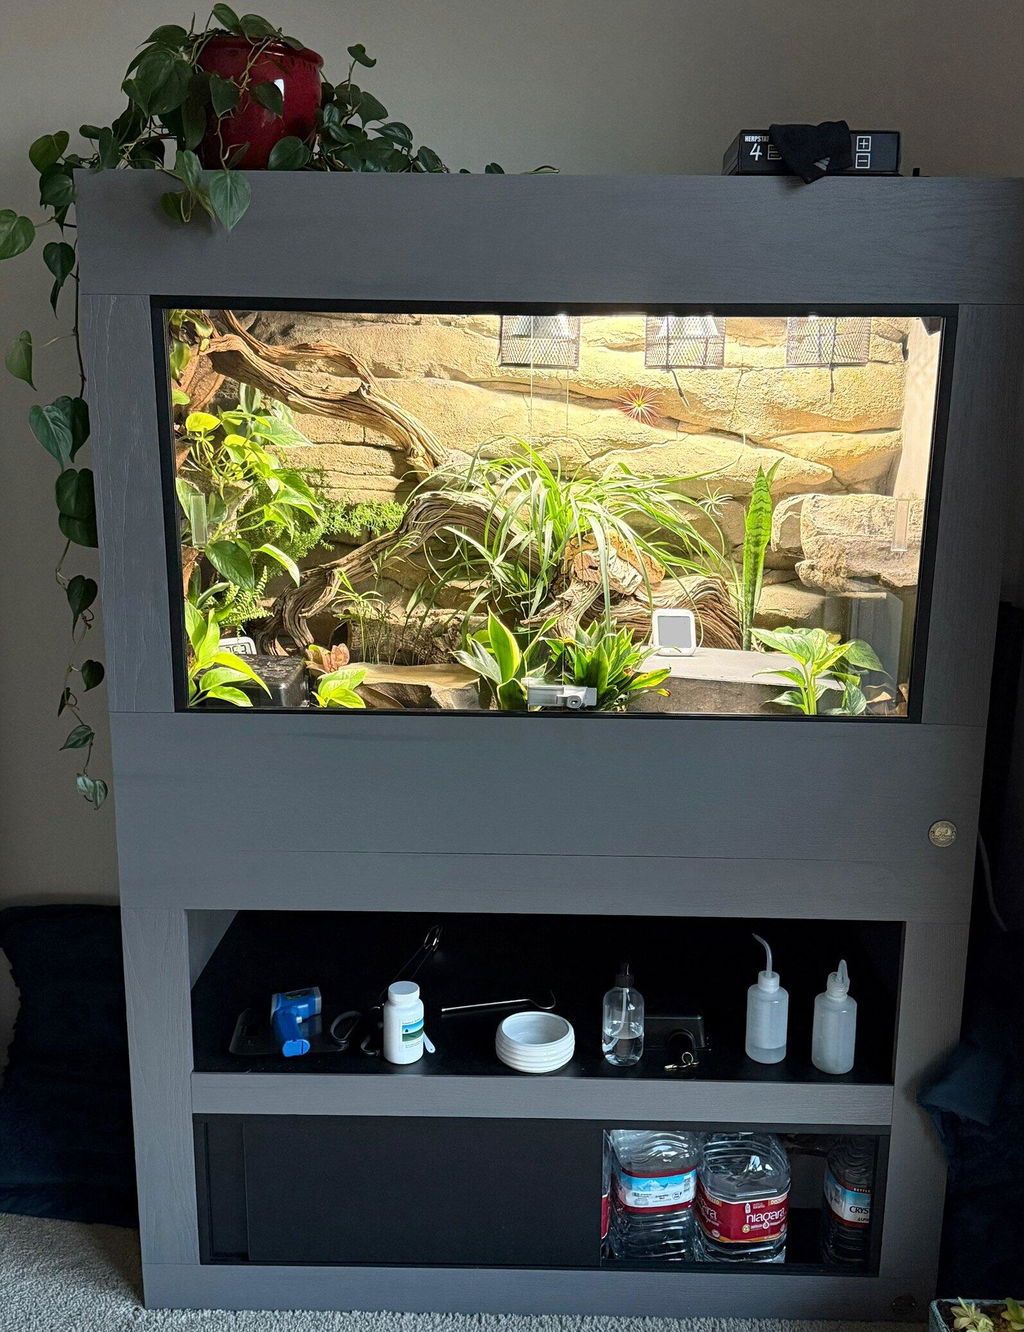
- And now it’s time to get creative! Set up your mini ecosystem(s) and enjoy!!
We want to sincerely thank you for your purchase! We would love to see how you set up your animals, please send us your pictures or post to social media and tag us! If you love your enclosure and had a great experience with us please take a minute to leave us a review on Google!
Please contact us at: ToadRanchReptiles@gmail.com