Congratulations and Thank You for your purchase of this
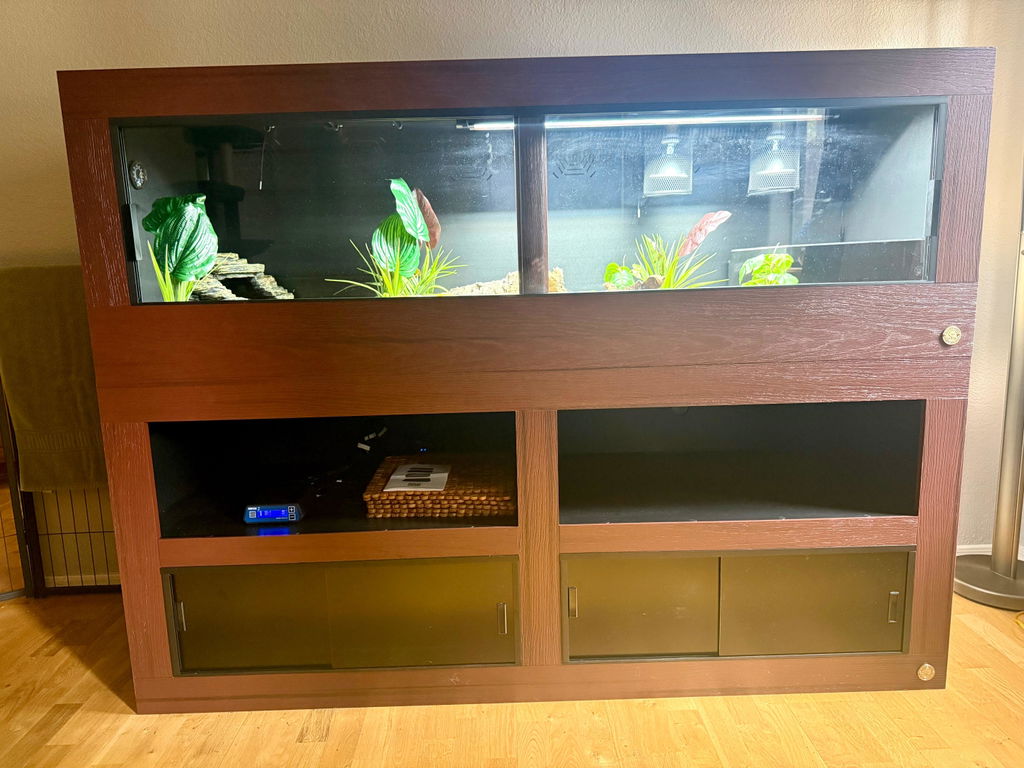
GIANT Toad Ranch Luxury Reptile Habitat!
Tools needed:
- Phillips screwdriver (wrist powered or battery powered- be careful not to overtighten screws!!!)
- Instructions
- An extra pair of hands
Included Supplies:
- Coarse thread 1-1/4” #6 screws
- Black PVC FastCap screw covers
- (5) PVC body panels
- May Include Center Frame Support and/or Ceiling Beam
- Toad Ranch Signature Frame in your favorite color
- (2) pieces of Polished Edge Tempered Safety Glass
- (2) Acrylic Finger Pulls
- (2) Stacking Dowels
- Any other separately purchased add-ons
Notes: All body panels will be marked on the INSIDE cage surface as to where they go and will have an arrow that should be installed to point toward the FRONT of the cage with the exception of the back-panel arrow which should point up. “Right” and “Left” will be as you look at the cage with it facing you.
On the Top and Bottom Panels, you will notice there are two different sized holes on the front edge. The larger diameter holes (without the countersink) are for the stacking dowels.
Steps: (If you ordered a “Cliff Hanger” Shelf it should be assembled first-see included instructions)
- Locate PVC body panel labeled “Back” and panel labeled “Right”. Lay the “Back” panel, label up, on a solid surface. With the “Back” panel label arrow pointing away from you place the “Right” panel (arrow facing up/towards the front of the enclosure) along the right side of the “Back” panel and insert screws through the “Right” panel into the “Back” panel making sure the holes align.
- Repeat this procedure with the “Left” panel
- Take the “Bottom” panel, arrow facing up/toward the front of the enclosure (“Back” panel arrow should point away from the “Bottom” panel), and insert screws through the “Bottom” panel into the “Right”, “Left”, and “Back” panels again making sure the holes line up.
**(If your frame came with a center support that wasn’t installed simply place your frame face down and fasten the support to the back of the frame with the same screws. There is a wide slot that should align with the upper track and a narrower slot/cutout that should align over the bottom track.)
- Now take that beautiful Toad Ranch Signature Frame in your favorite color and place the grooved/rabbeted side down onto the “Bottom”, “Right”, and “Left” panels with the Toad Ranch Badge closest to the “Bottom” panel. It should sit inside of these panels with the lip resting outside, on the edges. Make sure the frame is supported during this step. Now secure the frame to the body panels, installing screws through the body panels into the frame making sure the holes line up.
- At this point you can set your enclosure right side up! If your enclosure came with a “Ceiling Beam” simply place it into the slots/brackets in the frame and “Back” panel.
- The remaining panel should be labeled “Top”, if not, walk a lap, calm down and start over utilizing second tool on list.
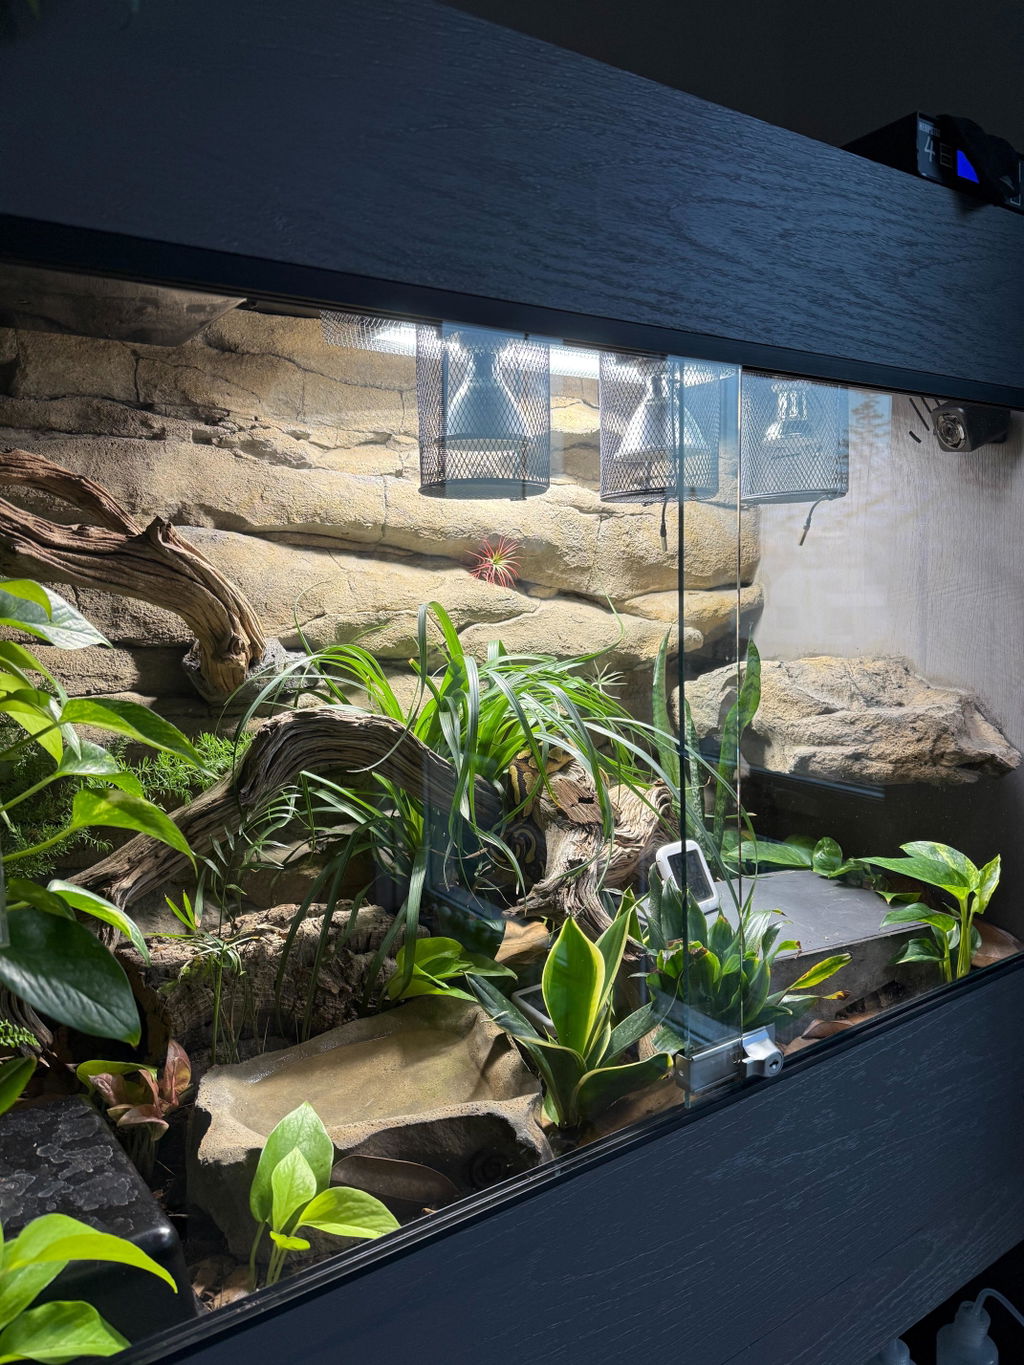
- This is a good time to install any light fixtures/ heat panels etc. to the top panel before installing.
- Do not mount heat lamp fixtures over Cliff Hanger “Basking” Shelves or closer than 6” to any side/back panel.
- This is a good time to install any light fixtures/ heat panels etc. to the top panel before installing.
- Install “Top” with label IN and arrow pointing toward front. Before securing “Top” make sure electric cords are seated in the grooves on the back panel(s). Secure with screws through “Top” panel into assembled body and frame.
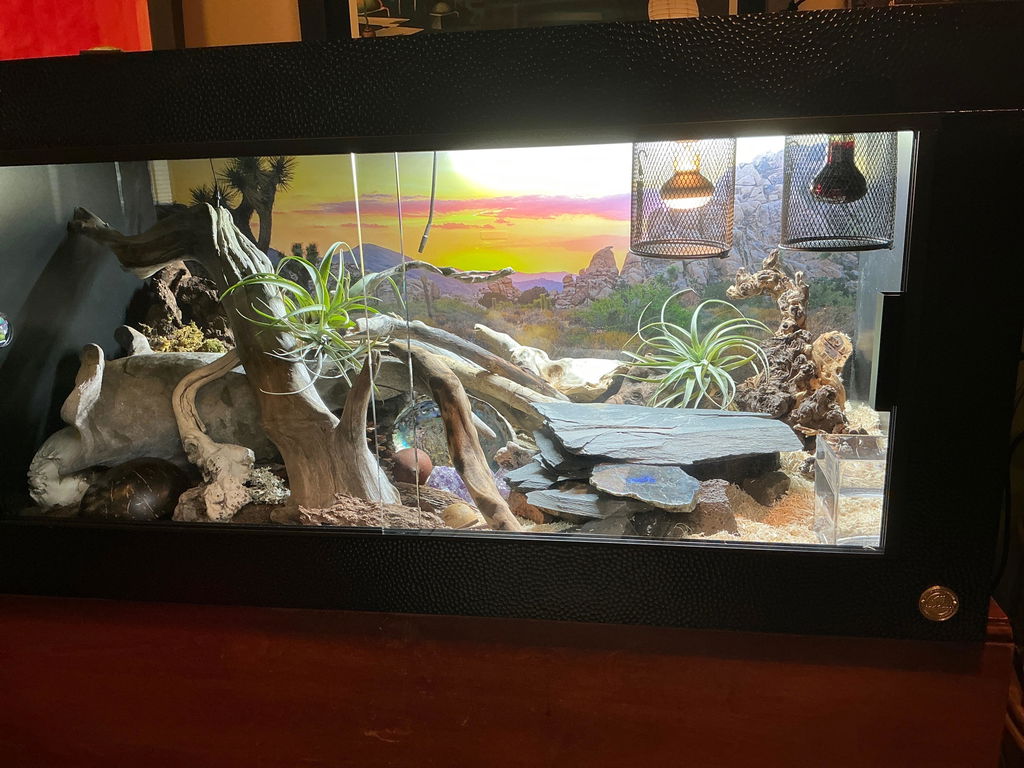
If you are housing a snake or other reptile that can reach up to the light fixture, we always recommend using a wire HEAT LAMP SAFETY BASKET to prevent burns if you are using a heat bulb. We do NOT recommend the use of ceramic heat emitters in PVC enclosures, the surface temperature of these bulbs get WAY too hot to be used safely inside our enclosures. Arcadia Deep Heat Projectors are a GREAT alternative to ceramic heat emitters!! (both Heat Lamp Safety Baskets & Deep Heat Projectors are available for sale on our website)
PVC enclosures hold heat very well and while this is a great attribute and great for your electric bill it is important, just as it is in all enclosures, to monitor & control your heating source. There are lots of options in all different price ranges for thermostat controls- we use Spyder Robotics Herpstats but the cheaper ZooMed thermostats work well also.
- Now would be a good time to place the Black PVC FastCaps over the screws. We provide FastCaps for the sides and top only. We recommend if you are stacking, not to place them on the top panel of the enclosure you will be stacking on top of.
- We strongly recommend applying an adhesive sealant (Lexel-best option, or Dap230) to at least the lower seams/joints at this point. Make sure you allow the recommended cure time before introducing your animal(s).
- Insert the Tempered Safety Glass panels one at a time by angling up into the top track and seating back down into the bottom track.
- Acrylic finger pulls may be placed at your discretion. We find the doors pull better if they are placed a little lower than the halfway point on the glass (this is especially true if your cage is taller than 2’).
- If you are stacking your enclosures simply insert the dowels into the holes on the top front edge of the lower enclosure and seat the upper enclosure onto them!
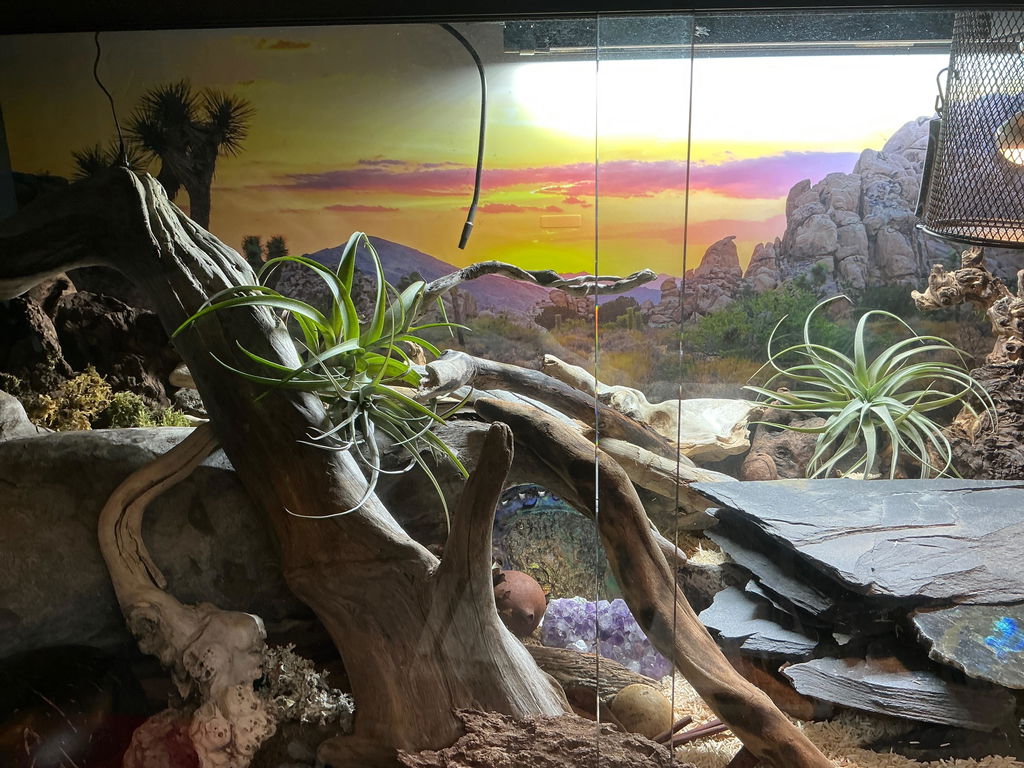
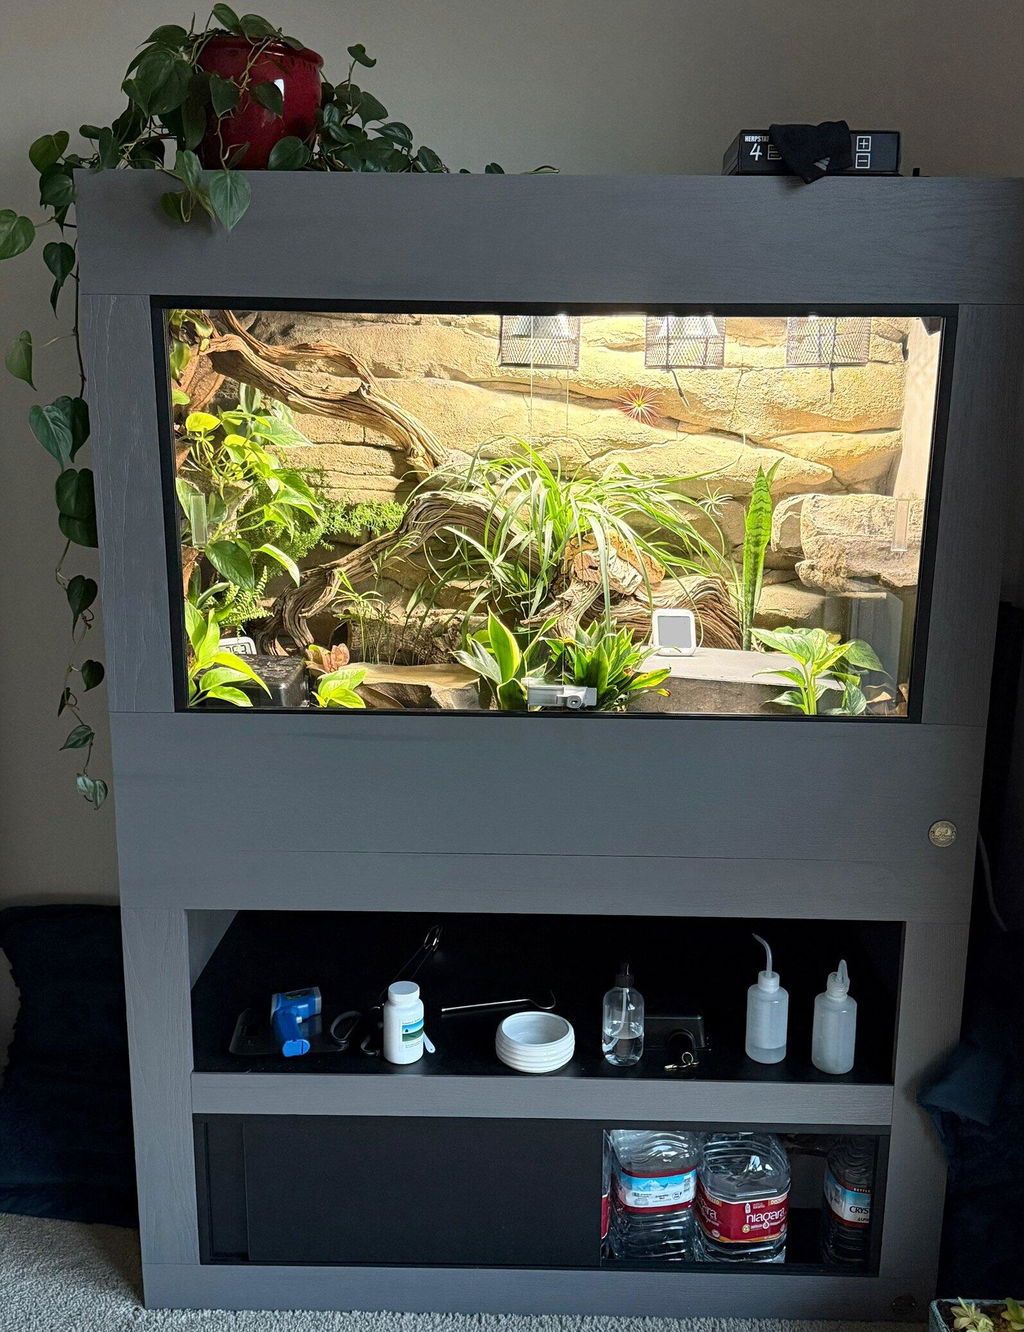
- And now it’s time to get creative! Set up your mini ecosystem(s) and enjoy!!
Maintenace:
- Cleaning your enclosure is a breeze! Both the PVC body and the glass can be cleaned with a mild vinegar and water mixture! (Most other household and reptile cleaners are ok too just test them in an inconspicuous spot first) The panel labels are ez-release and should be removed after installation.
- PVC can become damaged if left in outdoor sun.
We want to sincerely thank you for your purchase! We would love to see how you set up your animals, please send us your pictures or post to social media and tag us! If you love your enclosure and had a great experience with us, please take a minute to leave us a review on our Website, Google, Facebook or wherever! If there’s something, we could have done better please let us know. Please contact us at: Sales@ToadRanchCages.com